
You’ve got your studio gear but you aren’t sure how to connect everything.
Instead of hoping you get it right or following a “connect the dots” plan that doesn’t explain anything… follow along as I explain how to set up your studio and connect all of your audio equipment in your home studio.
I lay out the entire audio signal chain from your voice or instrument to your audio interface and computer so you understand how it’s all connected and how to find and fix any recording problems!
Faking it is the number one cause of “I give up” when it comes to home recording… and home recording is twice as complicated as everyone else tells you it is….
Make sure to keep reading after the video, I’ll explain some bonus troubleshooting tips that I couldn’t fit into the video…
Below the video lesson is a summary of the strategies, with bonus ideas and links to other songwriting resources to improve your songwriting!
Best Home Recording Advice You Might Not Want to Hear…
Record part of a song, just the chorus to get started. Keep your goals within reach and don’t get discouraged if things are harder than you expect.
Record other people so you can focus on the recording process instead of trying to perform and record at the same time
Record cover songs if your songs aren’t ready, either because of the songwriting or your performance.
Just like songwriting, this is a journey…
You won’t record awesome tracks on the first day,
You need to practice and improve over time,
YouTube is helpful but doesn’t teach you a process, just bits and pieces you have to
Advice from someone who knows what they’re doing and how to teach it is worth paying for (even though this series is free, it’s still worth big money savings
Sometimes you need to pay to get help… it’s an investment that will save you time, get you better results and save you frustration.
Setting Up Your Home Recording Studio Gear Can Be a Big Hassle, But It’s Easy If…
You understand how everything connects together. I’ll explain how to set up your studio by following the Audio Signal Chain. If you understand how this chain works, from your voice or instrument all the way to your DAW, you’ll be able to set it up then find and fix any problems you have while you’re recording later!
Audio Signal Chain (Summary)
- Sound Source
- Recording Space
- Microphone
- XLR Cable
- Audio Interface
- USB
- Computer
- DAW
- USB
- Audio Interface
- Headphones/Studio Monitors

Troubleshooting the Audio Signal Chain
A chain is only as strong as the weakest link… start at the beginning of the signal chain and follow it until you find the problem. If that doesn’t work, follow the same steps backwards.
When you can’t record at all, start at the microphone and trace the chain to the DAW.
If you can record but it sounds terrible, start at the sound source and investigate the signal chain to the DAW
If you can’t hear anything from your headphones, start at the DAW and follow the chain to your headphones or speakers.
When it was recently working and now it isn’t… figure out the last few changes you made and start investigating there.
Other Common Troubleshooting Solutions When Setting Up Your Audio Signal Chain
Check the volume levels in your computer, audio interface and DAW. Double check the volume meters in the tracks and buses to be sure there is an audio signal.
Check the Computer Settings>Sound (Audio) and be sure you’ve selected your audio interface. If you can’t find it there or can’t select it… the interface is either not turned on, not connected or not installed correctly.
Check your DAW Settings/Preferences select your audio interface… if you can’t find it there the interface is either not turned on, not connected or not installed correctly.
Check that the sample rate is the same in the DAW and audio interface (if there are different sample rates the DAW won’t be able to communicate with your interface)
Check the Master Bus in your DAW… is there input going through it to create an audio signal, is the output set to send to your audio interface?
Sound Source
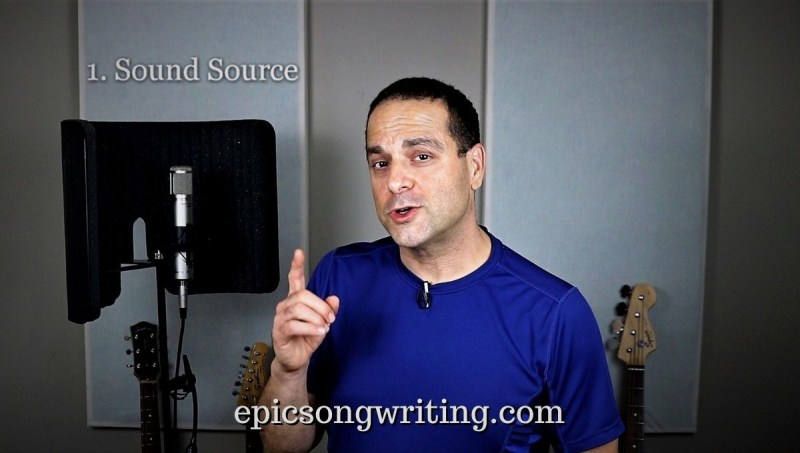
You need a great sound, what you hear is what you’ll get. The best recording engineer in the universe can’t tune your guitar after you’ve recorded it… well there is a plugin that can but it’s 1000% faster and easier to just tune your guitar before your press record!
Troubleshooting Your Sound Source
Garbage In = Garbage Out
There’s an old recording engineer saying: “We can fix it in the mix!” meaning that the performance or recording wasn’t the best but it could be fixed or hidden in the mixing phase. The easiest way to learn to mix is to start with good recordings.
It’s incredibly difficult (meaning a waste of time trying to learn how to at this point in your recording career) to fix poor recordings. It’s a better use of your time to improve your singing and playing skills. For example, if you want a better:
- Guitar tone… put new strings on it.
- Performance of your song… practice it for a week before you try recording it… record yourself on video (on your phone) and critique yourself, practice playing with a click track or drum loop… do the work instead of hoping it’ll sound great on recording day
- Vocal tone: warm up, practice the hard parts in the song, get some lessons….
A few years ago I grew frustrated with the vocals on my song demos. It wasn’t my audio recording skills, it was my vocal skills. I invested in vocal lessons to fix it. The best solution isn’t always the fast solution.
Home Studio Recording Space

The space you’re recording in influences your recording of the sound source.
Most homes aren’t built for recording sound. The gyprock walls and ceilings all reflect sound.
Hard surfaces reflect sound (drywall, gyprock walls and ceilings, hardwood floors, windows) and create odd echoes (Flutter) making it difficult to record a clean signal.
These echoes (Reverberation or Reverb) are how human’s perceive space. It’s not as sophisticated or precise as bat or dolphin sonar, but we also can tell the size or a space by the echoes in a sound. We do it subconsciously so you might not have realized it. You filter out this information when you’re listening to sounds in a room, because you’re focusing on the music or what someone is saying. If you listen past the music to the echoes,
Your microphone doesn’t have a filter the way your listening does, a microphone picks up and records everything. When you record your singing in a poor recording space and process it in your DAW, the echoes you would normally ignore are much louder and distracting.
Do your best with what you have and start with free and inexpensive solutions to reduce echo in your recording space before you start researching and paying for acoustic treatment.
Troubleshooting Your Recording Space
Go to the space you’re planning to use for your home studio. Snap your fingers or clap your hands and listen to the echoes. The louder the echoes, the more you’ll hear them when you record yourself.
Solutions ranging from free to “I can’t believe it cost that much money!”…
- You can dampen room reflections with carpet, rugs, furniture relatively inexpensively. It’s always surprising to hear the echoes in an empty room.
- You can use acoustic treatment, with acoustic panels that absorb soundwaves and reduce echoes. I built 4 panels for $80US in an afternoon (you can see 2 of them behind me in the video). You can buy panels for $100+US each.
- I bought the vocal booth for about $90US.
- I always consider improvements as an investment rather than an expense. I weigh the difference between the $ and the frustration it helps me avoid. With the acoustic panels, I decided to spend less money and more time because I wanted to learn how to do it myself.
Microphone

Studio microphones come in two broad categories: dynamic microphones and condenser microphones.
Dynamic microphones are generally more durable and tend to record better up close. Great for live performances and for recording in an untreated recording space (because they aren’t as sensitive). They don’t record sound as well from farther away.
Condenser microphones are more sensitive and recording sound better (in general) than dynamic microphones. They record sound better than most dynamic microphones because they run on a higher voltage using phantom power (48V) from the audio interface.
Troubleshooting Microphones
When you’re recording, get as close to the microphone as you can (without distorting the sound)
Microphones have different pick up patterns (the direction they can “listen to”), avoid “omnidirectional” microphones unless you’re recording a choir or for recording two people talking in the same room (for an interview). In most situations an omnidirectional mic picks up sound you don’t want to record.
Choose a cardioid microphone to start recording with… it picks up sounds in front of the mic, but less the sides and almost none from the back.
More about microphone pickup patterns in another article… until I write it, start with this: https://en.wikipedia.org/wiki/Microphone
When the microphone isn’t working at all…
- check that phantom power is on (on your audio interface) the cable is working (unplug and plug both ends back in, if that doesn’t work change the cable). Double check the input levels on the interface.
- Check the inputs on the DAW.
- Check the track inputs are set to the same channel as the microphone on the interface
If your microphone sounds terrible and makes your sound source sound awful, start with the clap test (clap your hands in your recording space and listen for echoes… if they’re really obvious you need to either treat your recording space with acoustic treatment (or muffle echoes with furniture, carpet and other sound absorbing DIY solutions), use a dynamic microphone close to the sound source, or find a new place to record.
XLR Cable

Use good quality cables that are in good condition. Old or broken cables can cut out randomly or introduce static (crackle) to the signal. If your set up worked before but you’re noticing either of these problems, try changing the cables.
Troubleshooting Cables
Check a cable by looking at the connections at each end, be sure they aren’t loose.
Always have extra cables… always. Buy two and don’t buy the cheapest ones you can find. The price difference is usually due to better construction and better materials. If they last longer, they are worth the extra money.
The only thing worse than a broken cable that you can’t replace with a spare, is your last battery running dry….
Audio Interface

The audio interface converts the analogue signal from the microphone to a digital signal your computer and DAW can understand.
Always plug in and turn on your audio interface before opening your DAW. Some DAWs refuse to (or are slow to) acknowledge an interface after you open them. If you have a power switch double check you’ve turned it on.
If you’re using a midi piano or other midi controller, you can plug a midi cable into the “midi in” port in your audio interface. You can also use a “midi to USB” converter but that uses another USB port you might not have available. Check that the preferences/setting for you computer and DAW are set to “listen” to the midi input and output you want.
Troubleshooting Your Audio Interface:
If there’s no signal to the interface try a different cable or mic.
Check the input level from the microphone. The signal needs to be high enough (but not too high) coming from the microphone, adjust the gain so it’s half to 2/3 on the meter. Unlike old school analogue recording there’s no benefit to recording as loud as possible. Hitting (or going above) -0dB is called digital clipping and should be avoided at all costs… your recording can’t be saved, just retrack it.
Also check that:
- The sample rate is the same on your interface as in your DAW.
- Your DAW is listening to the channel your microphone is connected to.
- Phantom power is on for a condenser microphone
- The “instrument/line level” switch is in the correct position for what’s connected to that channel.
USB Connections

The cable can be a data bottleneck, slowing down the speed of your DAW. A USB2 port is usually fine. I used one for years until I recently upgraded my laptop that now has faster USB3 ports.
If you have a limited number of USB ports, you can also connect your interface to your computer with a Lightning or Thunderbolt connection if your computer and interface support them. Apple computers use a Lightning connector.
Intel created the Thunderbolt interface for faster data transfer on Windows computers
Troubleshooting Your USB Cables
If you can, switch to a USB3 port, Lightning or Thunderbolt connection, they allow faster data transfer.
Never route your interface through a USB Hub (a small box/adaptor connecting several USB ports to a single jack that plugs into your computer) they often slow down the data transfer. Plug your interface directly into your computer and either unplug unused peripherals or route them through the hub.
Check your audio interface, computer and DAW settings… they are often the problem.
Increase the buffer size of your interface, it increases latency but should also reduce data transfer problems. Increase the buffer just enough that the problem stops…
Home Studio Computer

Your computer routes the data from the USB to the DAW. The three most important computer parameters are the:
Computer CPU speed… how quickly your computer manipulates data and DAW processing
RAM… more memory for data manipulation
Hard Drive… free space to store your audio projects, faster read and write time to speed up rendering your final project.
Troubleshooting Your Studio Computer
Check the minimum computer requirements for your DAW (before you install it!). If your computer doesn’t have what it needs, choose another DAW or upgrade your computer.
Check the Audio settings, be sure that audio is routed to and from the interface.
Consider upgrading your computer RAM, it’s an easy and the least expensive way to increase your computer’s power.
If you find your DAW is crashing while you’re recording or listening to your project:
- Increase the data buffer size in your audio interface software
- Use fewer tracks, with fewer plugins
- Mute some tracks
- Turn off the plugins on some tracks
- Check your DAW manual for different ways to create the final mix (some DAWs have different options that need less computing power)
- Try rendering to a lower sample rate in the mp3 file
DAW (Digital Audio Workstation)

The Digital Audio Workstation (DAW) is the heart of your home studio. It’s the software you’ll use to record each vocal take and instrument in your song. You can independently manipulate each track and mix them together into a stereo track.
When you’re happy with the mix, you can render the audio to mp3, WAV and other file types so you can play them on a your phone, upload them to the internet, transfer them to a memory stick or burn them to CD (if your computer has a CD burner and if you believe in old tech)
Troubleshooting Your DAW
The biggest problem most beginners have with their DAW is choosing one… the second is figuring out how to use your DAW.
Start by checking the signal routing through your DAW… that the input for the track you want to record is set to the correct channel on your DAW (that it’s listening to the microphone you’re using) and that the signal is traveling through the DAW as you want it, ultimately that it gets to the Master Bus and that its sending to the output on your audio interface.
DAWs are difficult to figure out on your own, that’s why I’ll be showing you how to use one in later articles and videos.
Although the basic principles are the same, each DAW has its own idiosyncrasies. Some terminology is different. The layout is similar, but there aren’t universal standards.
Check the manual for your DAW or YouTube for tutorials about your specific DAW and specific problems you’re having.
USB
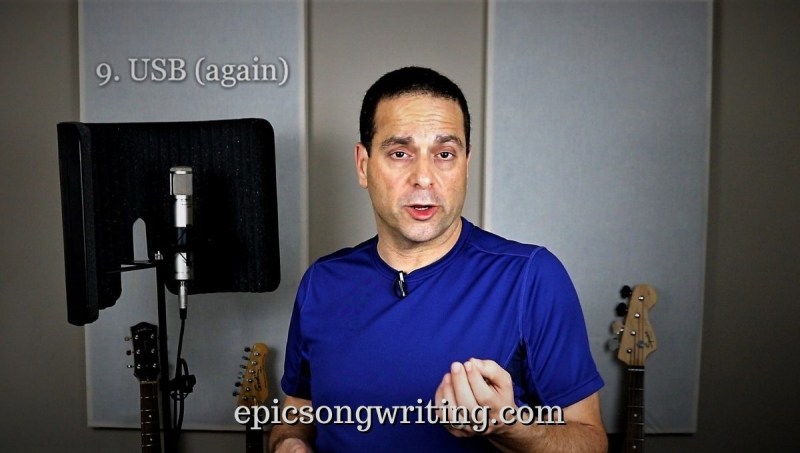
The cable can be a data bottleneck, slowing down the speed that your DAW can communicate with the audio interface. Check the USB heading above.
Audio Interface

Convert the digital signal from the DAW back into an analogue signal your headphones or speakers can turn back into sound you can hear.
Troubleshooting Your Audio Interface
Check “Troubleshooting Your Audio Interface” above.
Try playing music from your computer, using iTunes, Media Player or from your CD drive if you have one. If that works, then the problem is likely in the DAW.
Be sure you have an audio signal coming from your DAW, check that the Master Bus is routing to the interface.
Check that all tracks and buses you want to hear are sending audio and not muted and that there are no soloed tracks.
Headphones/Studio Monitors
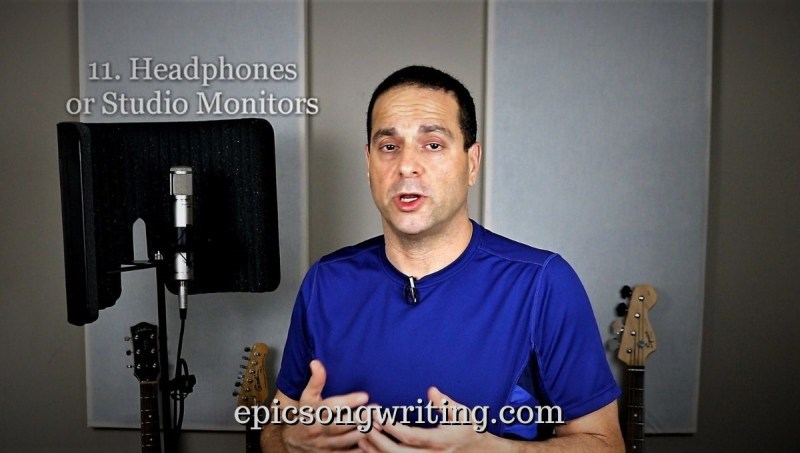
The final step in the audio signal chain is the output… your audio interface sends the audio to either headphones or studio monitors (specialized speakers with a flat audio response so you get a clear sound).
Your computer speakers are too small, they can’t reproduce audio well enough to be useful for home recording (you can check a mix on them to hear if they will sound okay on another computer, but they are close to useless while you’re recording or mixing).
When you’re recording you need to hear the backing tracks without the microphone picking it up.
Studio Headphones
Start with “closed back, flat response” headphones so you can hear the click and backing track while you record without the microphone picking up those sounds.
A second set of “open back, flat response” headphones are optional. Open back headphones are more comfortable for mixing and mastering, especially for long studio sessions.
Studio Monitors (optional) – flat response can reproduce a wider range of frequencies (especially lower frequencies) than headphones. They start at about $300US a pair. It’s important to consider your recording space when you use speakers because the space affects the sound, just as your room affects the sound of your sound source when you’re recording.
Bonus tip: always turn off your studio monitors when recording with a microphone (if you’re using closed back headphones you might not notice the speakers are on!) so you don’t record the entire mix (yes, I’ve done this).
Troubleshooting Your Headphones and Speakers
Start using what you already have and save up for a nice pair of “closed back, flat response” headphones. You can wait on studio monitors for now.
Consumer grade headphones or speakers are okay to start with, but some, especially less expensive speakers are often intentionally designed to emphasize certain frequencies (ex: bass boost) that colour the sound. If you craft your mix on speakers (or headphones) that aren’t “flat response” your mix will sound off when you’re finished. Mixing while listening to “bass boost” will make you think the bass sounds great when there actually isn’t enough bass in your mix.
Connecting All Your Audio Gear
When you’re first setting everything up:
- Download and install the drivers for your audio interface
- Check your Audio Setting, set your interface as the default audio device (so it self connects whenever you have it plugged in)
- Connect studio monitors to the interface (optional)
- Download and install your DAW
- Plug in/turn on your audio interface so it’s connected to your computer
- Open your DAW, find the preferences/setting and select your audio interface as the main audio input and output device (so the DAW routes audio from and out to the interface)
- Connect your microphone to the audio interface with an XLR cable
- Open a project (or select new project template)
- Save the project (choose a name for the song, or “test”)
- Open a track and set the input for the correct channel on the interface
- Set the track output to the master bus
- Set the master bus output to your interface
- Test the microphone and hear if you have a good sounding signal, adjust input on the audio interface to set the level of the loudest sound you plan on making so it reads between 1/2 and 2/3 (about -12dB) on the level meter for the track.
- Adjust the Master bus output so it reads no more than -8dB on the output
- Adjust the headphone output or speaker output so it’s neither too loud or too soft
- Turn off the speakers when you’re recording from the microphone so you don’t get sound bleed.
Home Studio Audio Signal Chain: Summary

Connect your home studio audio gear by following the Audio Signal Chain. Understanding it will help you connect everything, and find and fix recording problems if you have any when you’re using your home studio.
- Sound source
- Recording Space
- Microphone
- XLR Cable
- Audio Interface
- USB
- Computer
- DAW
- USB
- Audio Interface
- Headphones/Studio Monitors
